Manticore Recovery Speed Iron Contaminated Pasture
Old pasture around former gateways, track edges and long-vanished farm activity can contain attractive targets—but also nails, wire fragments and other iron. The answer is not automatically to maximise every setting.
This exercise compares three Manticore Recovery Speed levels over the same undisturbed signals, helping you find a practical balance between target separation and a full, recognisable response.
All figures below are conservative starting points. Soil mineralisation, moisture, electrical interference, coil choice, detector firmware and your sweep technique can all change the result.
What Recovery Speed changes
Recovery Speed controls how quickly the detector responds to consecutive targets. Minelab provides settings from 0 to 8 and recommends faster speeds for closely spaced targets in rubbish-laden ground. Slower settings can favour deep, isolated targets.
A higher number can make adjacent responses easier to distinguish, but the audio becomes shorter and may be less forgiving of poor sweep technique. The aim is not to prove that 8 is “best”. It is to discover which setting gives the clearest repeatable non-ferrous response among iron at your particular site.
Suitable terrain and conditions
Choose a permissioned pasture, field edge or old access route where scattered iron is already evident. Avoid livestock, standing crops, electric fences, overhead or buried services, protected sites and any ground where detecting or target recovery is prohibited.
Check out our How to Get Permission to Metal Detect on Private Land guide to obtain the landowner’s or responsible authority’s permission beforehand. Check the access, heritage, treasure and finds-reporting rules applicable in your country or region.
In England and Wales, for example, detectorists can consult the Portable Antiquities Scheme and official Treasure guidance. These UK arrangements are not universal, so international readers should consult their relevant local authority.
Conservative starting settings
- Search Mode: All-Terrain General
- Frequency: Multi-IQ+
- Sensitivity: 18–22, reducing it if operation is unstable
- Initial Recovery Speed: 6
- Ferrous Limits and discrimination: Retain the mode defaults
- Coil: Standard M11; a smaller compatible coil may help in very dense iron
- Audio: Familiar tones with enough ferrous volume to hear the surrounding iron
Run Noise Cancel with the coil stationary and clear of metal. Ground balance over a genuinely target-free patch.
If your detector has Minelab’s software upgrade containing the All-Terrain Stabiliser feature, leave Stabiliser at its existing position during this exercise. Changing Recovery Speed and Stabiliser together would make the comparison less meaningful.
Field exercise: compare 4, 6 and 8
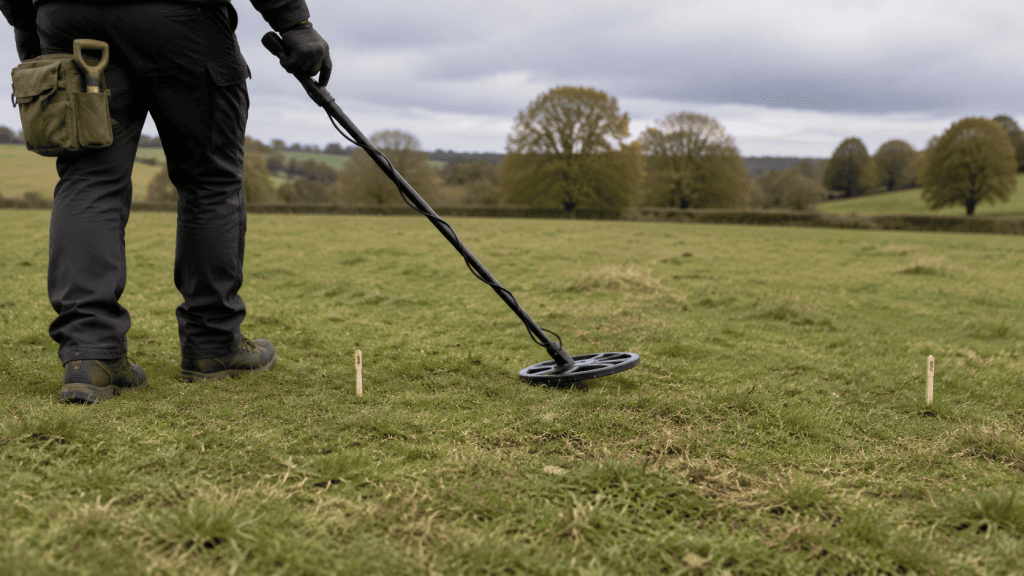
- Mark a survey area of approximately 5 × 5 metres with removable, non-metallic markers. Choose ground containing frequent iron responses without so much interference that the detector never settles.
- Set Recovery Speed to 6. Sweep slowly, keeping the coil low and level while overlapping each pass by roughly one third. Avoid lifting the coil at either end of the swing.
- Locate a questionable signal containing at least a brief higher-toned or central-line response amongst nearby ferrous audio. Do not select it solely because of one high Target ID flash.
- Mark the position without digging. Stand in one direction and make four controlled passes across it at the same speed and coil height.
- Observe:
- Separation between the iron and possible non-ferrous sounds
- Audio repeatability
- Target ID stability
- Shape and position of the 2D ID Map trace
- Change only Recovery Speed to 4. Repeat the same four passes. Listen for a longer or fuller response, but note whether the surrounding iron now merges with it.
- Change only Recovery Speed to 8 and repeat. Listen for shorter, more clearly separated responses. If the promising tone becomes a clipped chirp, slow your sweep before judging it.
- Return to 6, rotate 90 degrees and repeat the sequence at 4, 6 and 8. A response that repeats from more than one direction normally deserves greater attention than a single attractive flash.
- Test at least five in-ground signals before deciding which speed suits the site. Record each result as 4, 6 or 8, followed by a simple description such as “clear”, “merged”, “clipped” or “iron-like”.
- Recover only permitted targets using the landowner-approved method. Pinpoint carefully, restore the soil and turf, and place hazardous scrap in a secure finds pouch or container.
Interpreting the results
A useful setting should provide repeatable audio while still revealing the surrounding iron.
Recovery Speed 4 may sound fuller on an isolated or deeper target, but two close objects can blend together. Speed 8 may divide a busy response into recognisable parts, although signals will be shorter and demand a controlled sweep. Speed 6 is a useful middle comparison - not a guaranteed optimum.
Use audio, repeatability and the 2D trace together. Minelab describes the map’s horizontal axis as conductivity, while the vertical position indicates ferrous character. Ferrous responses tend to appear away from the central conductive line.
A compact trace near the centre can be encouraging, but it does not prove what the object is. Target depth, shape, orientation, mineralisation and adjacent metal can all alter the response. Recover a representative selection of permitted signals so you can compare what you heard with the actual targets.
Why this works
Changing one control over the same undisturbed signal removes much of the guesswork. You hear the trade-off directly: slower recovery can preserve a broader response, while faster recovery allows the detector to reset sooner between closely spaced objects.
Repeating the test from two directions also helps expose one-way iron falses and genuine targets partly masked by nearby iron.
Common mistakes
- Changing sensitivity, Ferrous Limits or Stabiliser during the comparison
- Swinging faster because the Recovery Speed number is higher
- Judging a target from one pass or one Target ID flash
- Silencing iron completely and losing useful target context
- Running excessive sensitivity in unstable ground
- Assuming the result transfers unchanged to another field, coil or soil type
Before you leave
- Permission and local restrictions confirmed
- Noise Cancel and ground balance completed
- Speeds 4, 6 and 8 compared over at least five signals
- Same coil height, direction and sweep pace used
- Promising responses checked at 90 degrees
- All holes filled and turf restored
- Markers and test items removed
- Sharp waste secured safely
- Potentially reportable finds handled under applicable local law
P.S. Please leave a comment below, if you have any other tips, which may help other detectorists, thanks